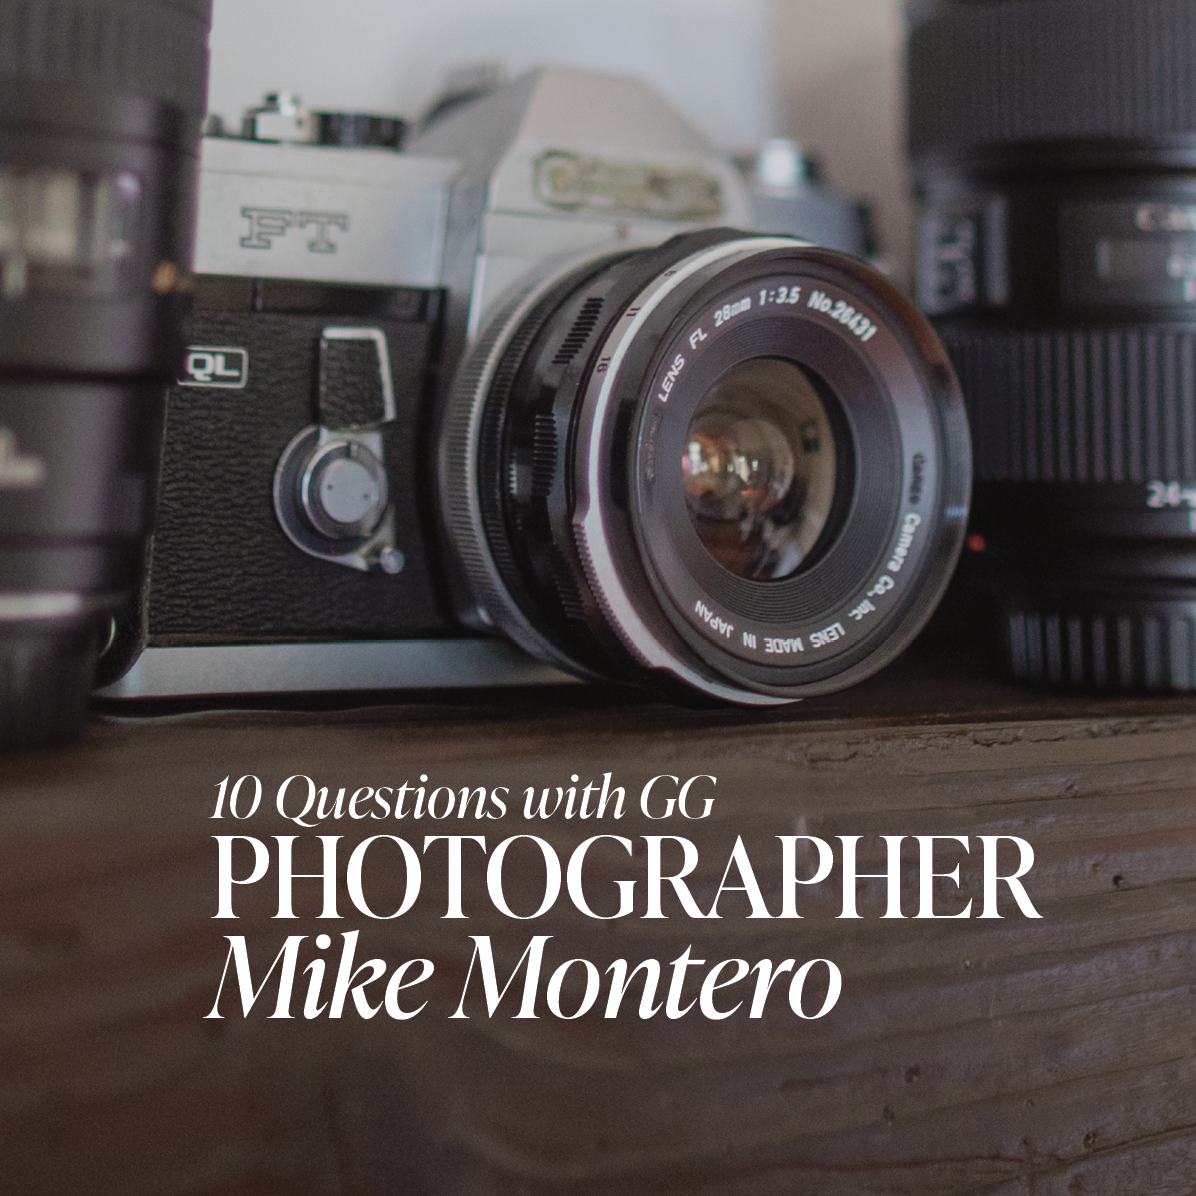
10 Questions with GG: Photographer Mike Montero
June 25, 2021
I’m so excited to kick off 10 Questions with GG—my new blog series where I’ll be interviewing subject matter experts in every field you need to successfully build and market your brand.
What better way to start it than with my great friend, colleague, and extremely talented photographer Mike Montero.
1. How did you get started in photography?
I’ve always had an interest in photography from a young age. However, it wasn’t till a year or so before my first son was born, in 2015, that I decided to take a chance and bet on myself to pursue it as a professional career. I saved up and purchased myself a used Canon 5D mark II and started absorbing all the information I can get a hold of via YouTube and other social sites. Photography became an obsession of mine that has miraculously turned into a career and I haven’t worked a day since.
2. What advice would you give to someone looking into photography as a career?
The best advice I can give someone starting in photography is to try and narrow down your niche by picking a specialty like portraits, landscapes, architecture, food, etc. Focusing in on what you enjoy shooting will help you develop better skill sets incrementally.
3. Share your top three tool recommendations for photography DIYers.
A 50mm Prime Lens. I highly recommend the relatively affordable Canon 50mm 1.8 Lens for all portrait/lifestyle photographers.
A tripod. It will help you achieve many different shots you wouldn’t otherwise be able to get with a steady hand, especially in low light situations when you need a longer shutter speed.
Editing software. Lightroom or Photoshop. Lightroom specifically is relatively easy to learn quickly and extremely intuitive.
4. What advice would you give to someone trying to DIY their own product photos?
Setting up the composition is key. Angle your product so its best features are highlighted. Complement your product with a nice background, texture, props, etc. will add a better environment which would make for a better photograph. If you don’t have access to a strobe light, try and use a natural light source like a large window.
5. How do you prep your clients for a brand shoot?
I typically outline what I want from their session so that everyone has a good time and the client receives great photos.
I provide outfit tips in advance so they are on brand and have various ones to choose from to maximize the variety of the shots.
I also recommend them to ensure the location selected does not have anything that would affect the shoot. For example, the site could now or in the future be under construction or need a photography fee or permit.
6. What are the top 3 photography mistakes you see on Instagram?
Overediting. Maxing out those editing sliders can be one of the biggest and easiest mistakes you can make. Full disclosure, I’m still learning everyday and I am definitely guilty of it as well.
Cropping. When editing, don’t just Instagram crop 4×5, and be done with it. Use the crop tool to your advantage to better frame your shot. Whether zooming in to make something more interesting, rule of thirds, remove unwanted subject or distractions at the edges of a photo.
Not uploading high quality Images. Make sure you export correctly and try not to retouch the image in various editing apps which causes the image to be compressed several times before finally uploading. This will help avoid pixelated or blurry photos that won’t look good on your feed.
7. What’s a good starter DSLR camera for a newbie?
Canon Rebel T7. It’s a great camera with a low price point that works well for most types of photography.
8. What are your top tips to take the best quality photos on an iPhone?
Angles. Don’t just automatically pull your phone up to eye level and start taking photos. Take a few seconds to think about how to make the shot more interesting. For example, objects usually look more interesting when the photos are taken from the same perspective of that object.
Photograph through objects. Have branches, leaves, people, objects in the foreground that are out of focus that would give your photo more dimension.
Lighting. Though smartphone cameras continue to get better, they all still struggle in low light situations. This causes the camera’s ISO to be boosted making your low light photos extremely grainy. Try to avoid that as much as possible by moving your subject closer to a light source.
9. Share your favorite photography resources.
Adobe Lightroom Mobil is a fantastic tool in your pocket. It allows you to take larger RAW files within the app which have more information for editing.
Photopills is another fantastic app for photographers. It has a built in exposure calculator, photoshoot planner which helps you with weather, calculate sun, moon, and Milky Way paths. It also has a time-lapse calculator and the list goes on and on. It’s the Swiss Army knife of photography.
Canon Camera Connect (Canon Shooters). This app turns your IOS or Android devices into a camera remote control.
Websites like mediumphoto.org/ and YouTube are great resources to continue learning and growing as a photographer.
10. Share some photography basics for newbies.
If you’re beginning in photography try and learn Shutter Speed, Aperture, and ISO… and learn them as well as you can. Mastering these concepts will help you quickly understand why your photos are too blurry, out of focus, too dark, too bright, etc.
When you look at a photograph and instantly realize what you did wrong and know how to quickly correct for that mistake, you can then move on to learning another skill.
Mike’s photography services range from brand and lifestyle, to weddings, architecture, and more.
Connect with Mike: Instagram @mikemontero003 // Website mikemontero.com